Nail polish/products destash

Lately I have been buying a lot of new polishes and even though I already have 12 shelves on the wall, I am running out of space so it is about time for a destash! (Selling/throwing away products that don’t belong to my collection anymore)

In this post you will see nail polishes, stamping plates and one UV/LED lamp that I would like to destash. The following pictures don’t include swatches of the polishes. This is because I never tried most of the polishes and I want to keep the bottles as new as possible.

IMPORTANT NOTE: I can not ship nail polishes outside my country The Netherlands. This means that unfortunately I can only ship nail polish inside the Netherlands, but I am able to sell any other products that are listed. If you are interested in any of the products, please send me an email to thenailpolishbottle@gmail.com or contact me by DM on my Instagram @thenailpolishbottle.

ALL THE PRICES ARE EXCLUDING SHIPPING COSTS. Please contact me to calculate the shipping costs for you. Every once in a while I will add more products to this page and I will update the site once a product is sold. Payment is possible by PayPal (international) or with IDEAL if you are from the Netherlands 😉

20190125_124534
China Glaze – Dashboard Dreamer €2,50

I used this polish for one full manicure only. For swatches, search the nail polish brand and name online in Google.

20190125_124638
W7 Cosmetics – 31 Silver €1,00

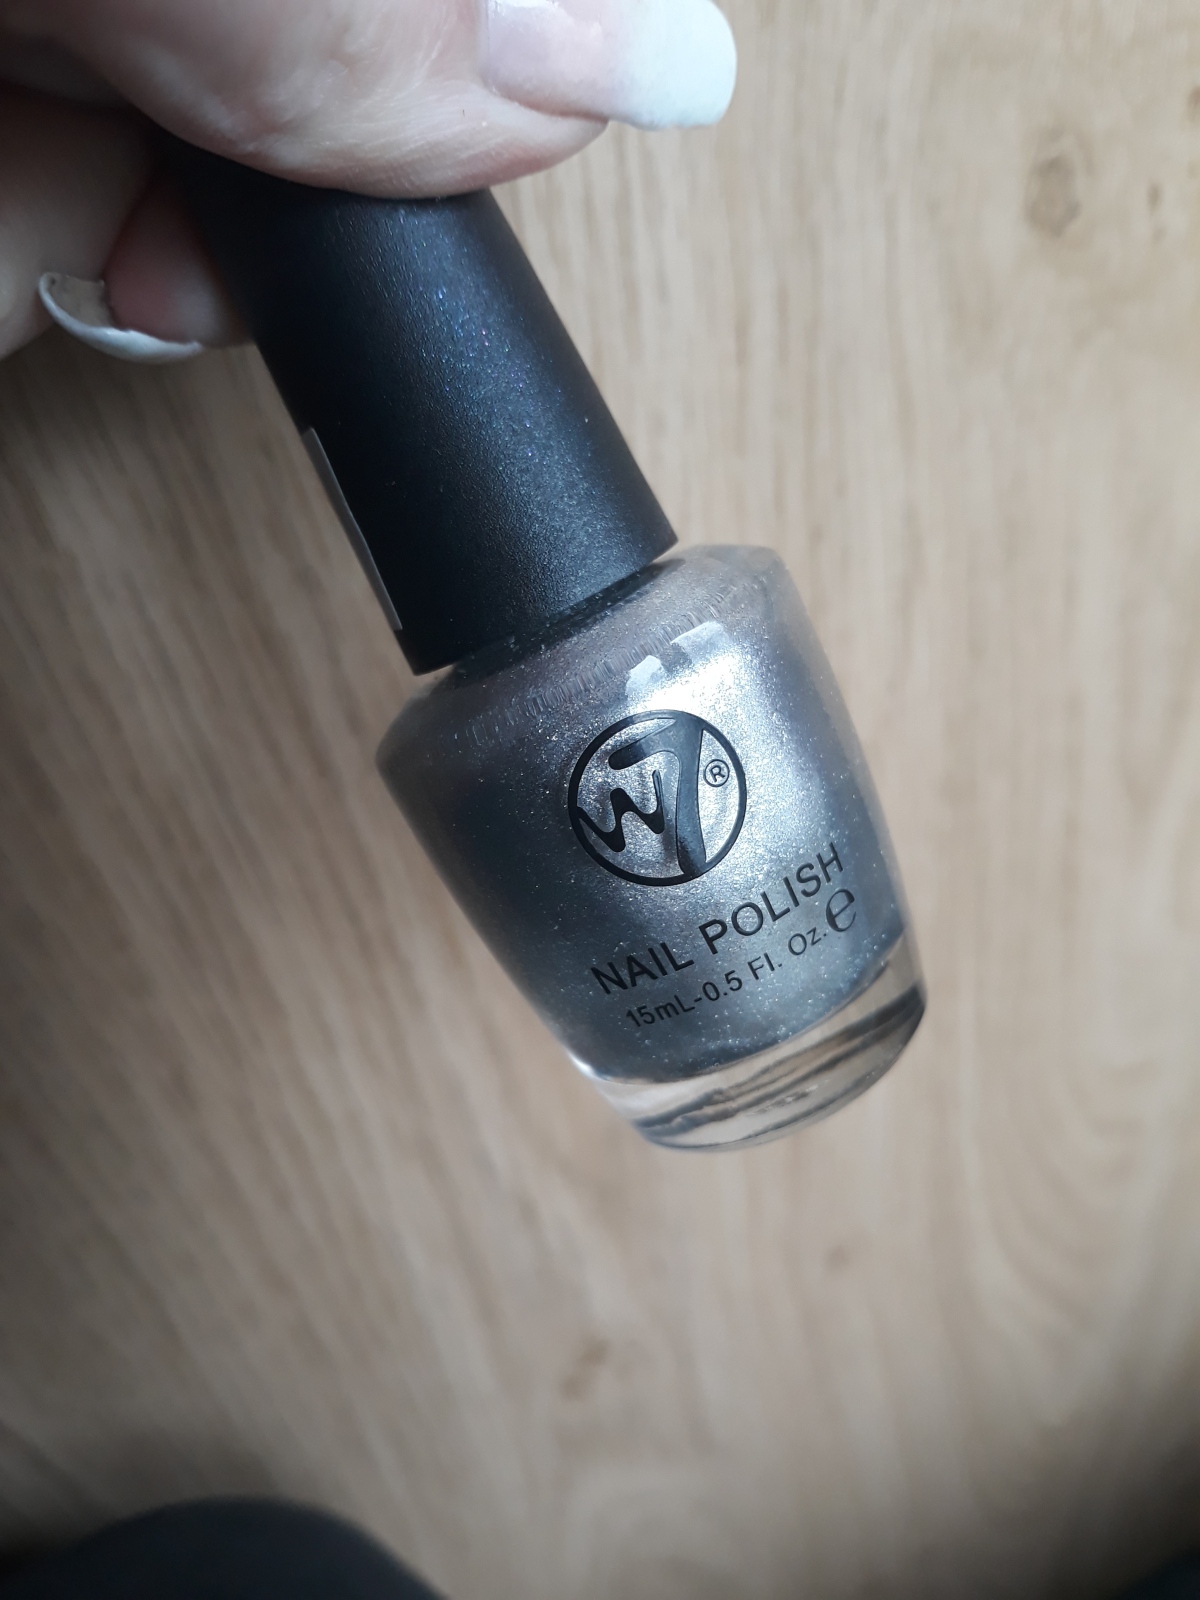
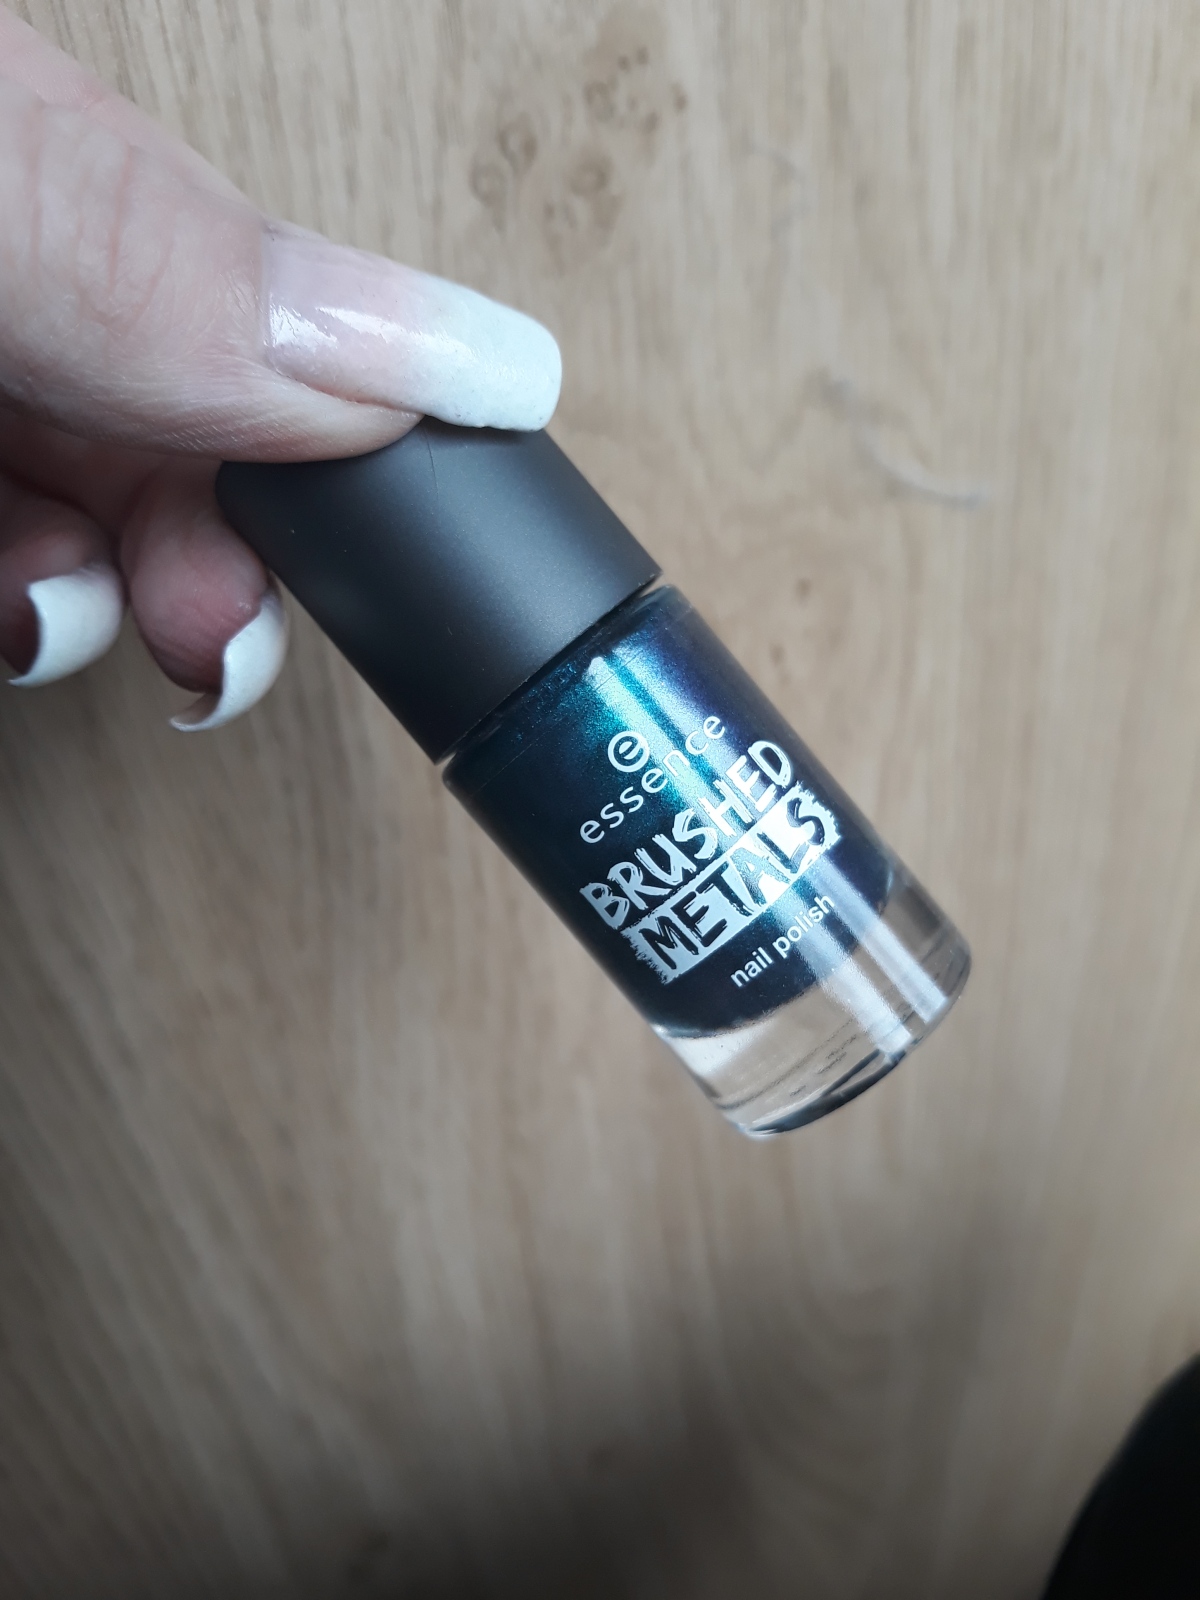
I never used this polish. I sell it because I already own a silver polish.

20190125_125138
Blanka – Doce €1,00
20190125_125148
Unfortunately some pigment seperation

I used this polish for one manicure only. I don’t like the smell of these polishes from Blanka actually, that is a reason for me to never wear them anymore. But if you are a person that just likes to collect cute nail polishes, then this might be something for you. Or if you don’t mind a strong nail polish smell 😉

20190125_125231
Blanka – Feliz €1,00
20190125_125208
Unfortunately some pigment seperation

I never used this polish, I already own a similar color.

20190125_125242
Blanka – Linda €1,00
20190125_125312
Unfortunately some pigment seperation

I never used this polish. Like the previous descriptions, I already own a similar color.

20190125_124800
Masura – Magnetosphere €4,00

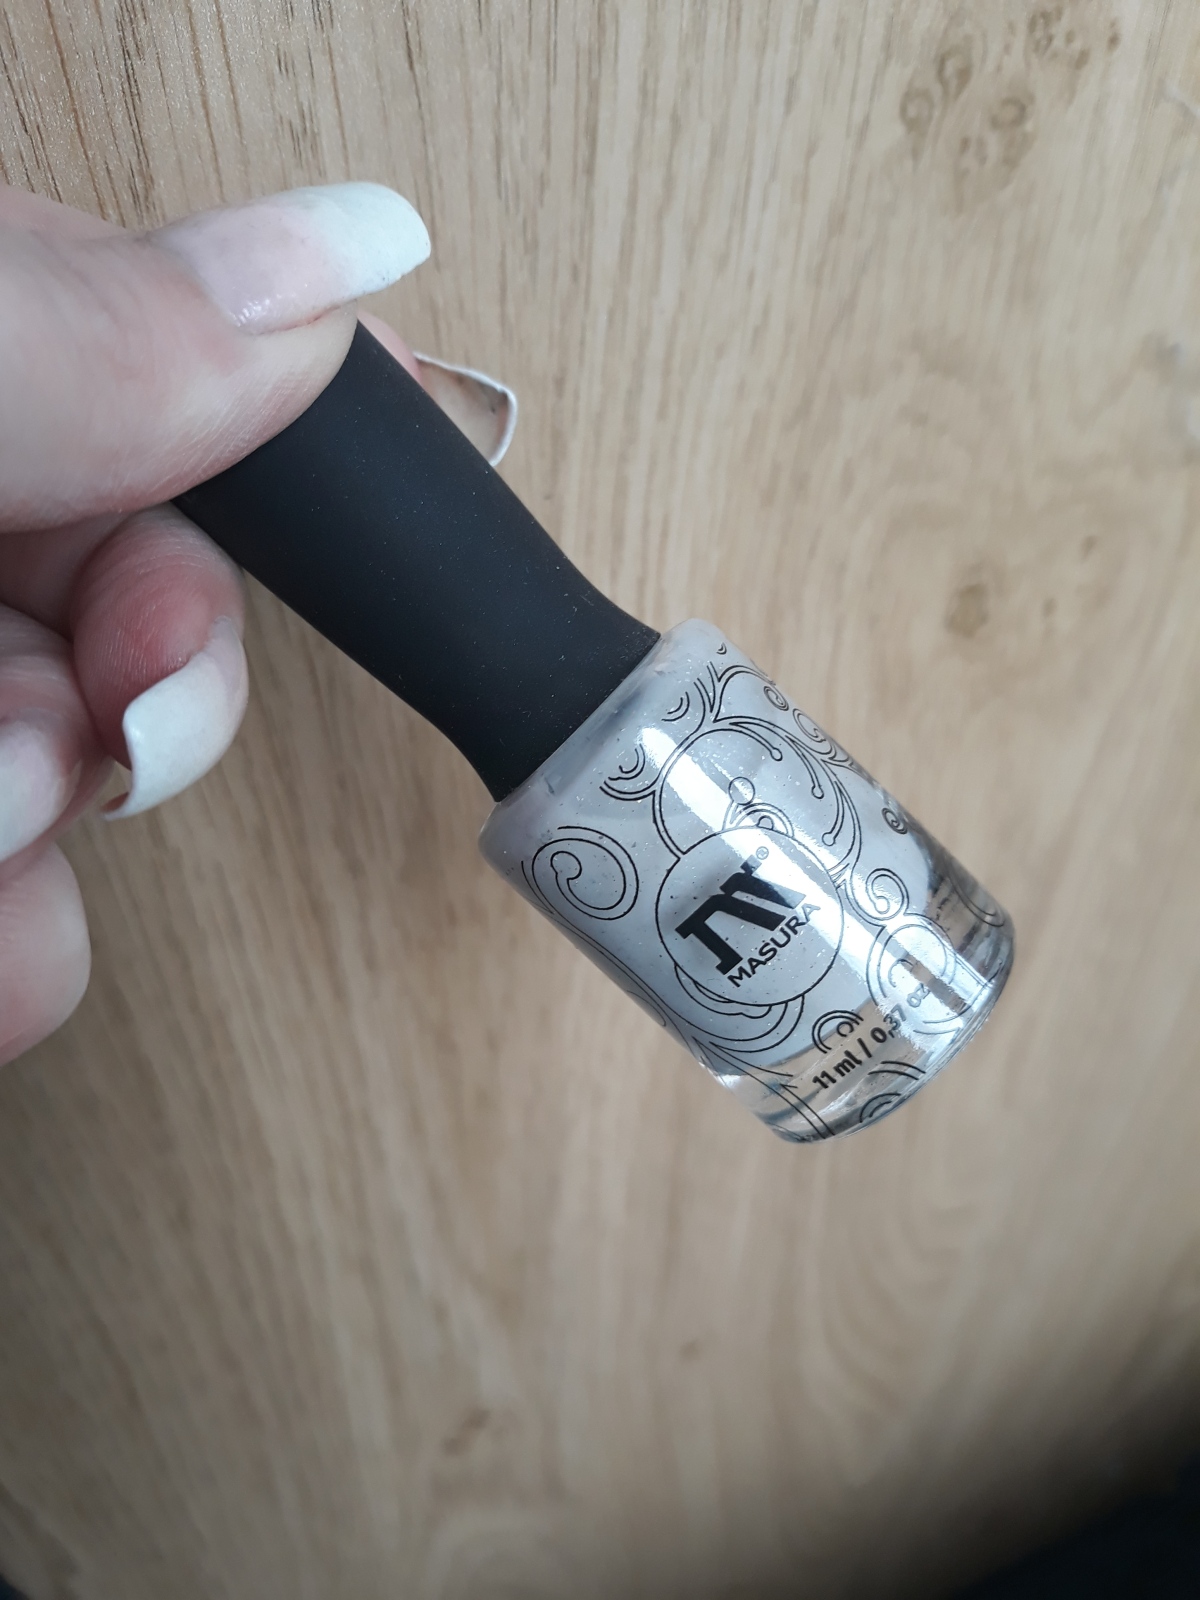
I used this one for one mani. It is a magnetic polish and the magnetic effect still works really well. I want to destash it because I don’t wear it often and I own some other Masura magnetics that work awesome too.

20190125_124843
Masura – Ice World €3,00

I used this one once for a mani. I really like this polish, but I recently bought a very similar Masura polish that I like even more.

20190125_125452
Kiko Milano Power Pro – Nr 083 €2,00

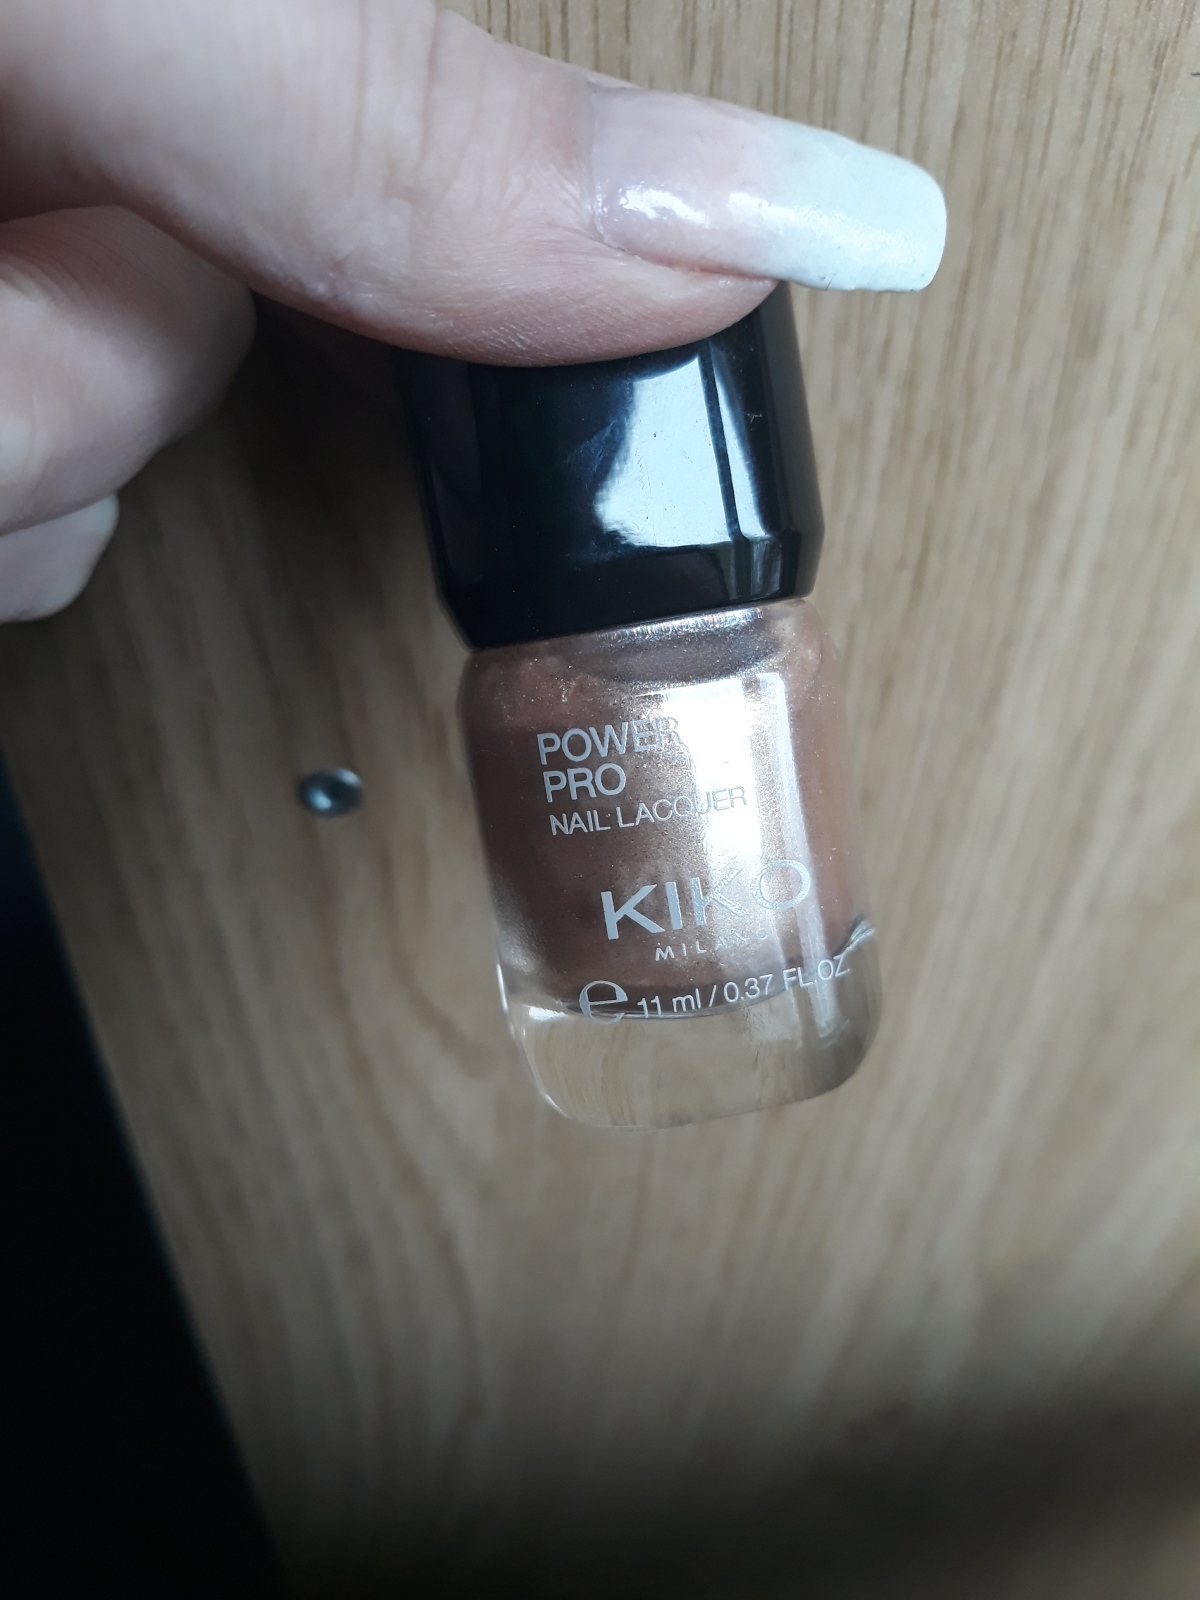
I loveeee the Kiko Milano Power Pro polishes they are super long lasting and dry really fast. I never used this one because it does not suit my skin color.

20190125_125547
Kiko Milano Power Pro – Nr 15 €2,00

I used this polish for one mani. I own mani similar reds already.

I never tried this polish. It is a pretty bronze shade though.

20190125_125653
Catrice – Keep me – I’m cute €1,50

The name of this polish almost makes me feel bad for destashing it lol. I like this polish and used it for one mani, but I have similar ones.

20190125_125732
Sensationail – I pink I’m in love €1,00

If you are into gel polishes, then this polish might be something for you. I never used it and don’t like pink shades personally but maybe you do!

20190125_125826
Paris Memories – Nr 22 €0,50

I never tried this polish. I own similar ones.

20190125_130028
Essence – Pure-Fection €0,50

I used this polish once as full manicure. Unfortunately it doesn’t fit my skintone.

20190125_130049
Essence – I’m Cool With It €1,00

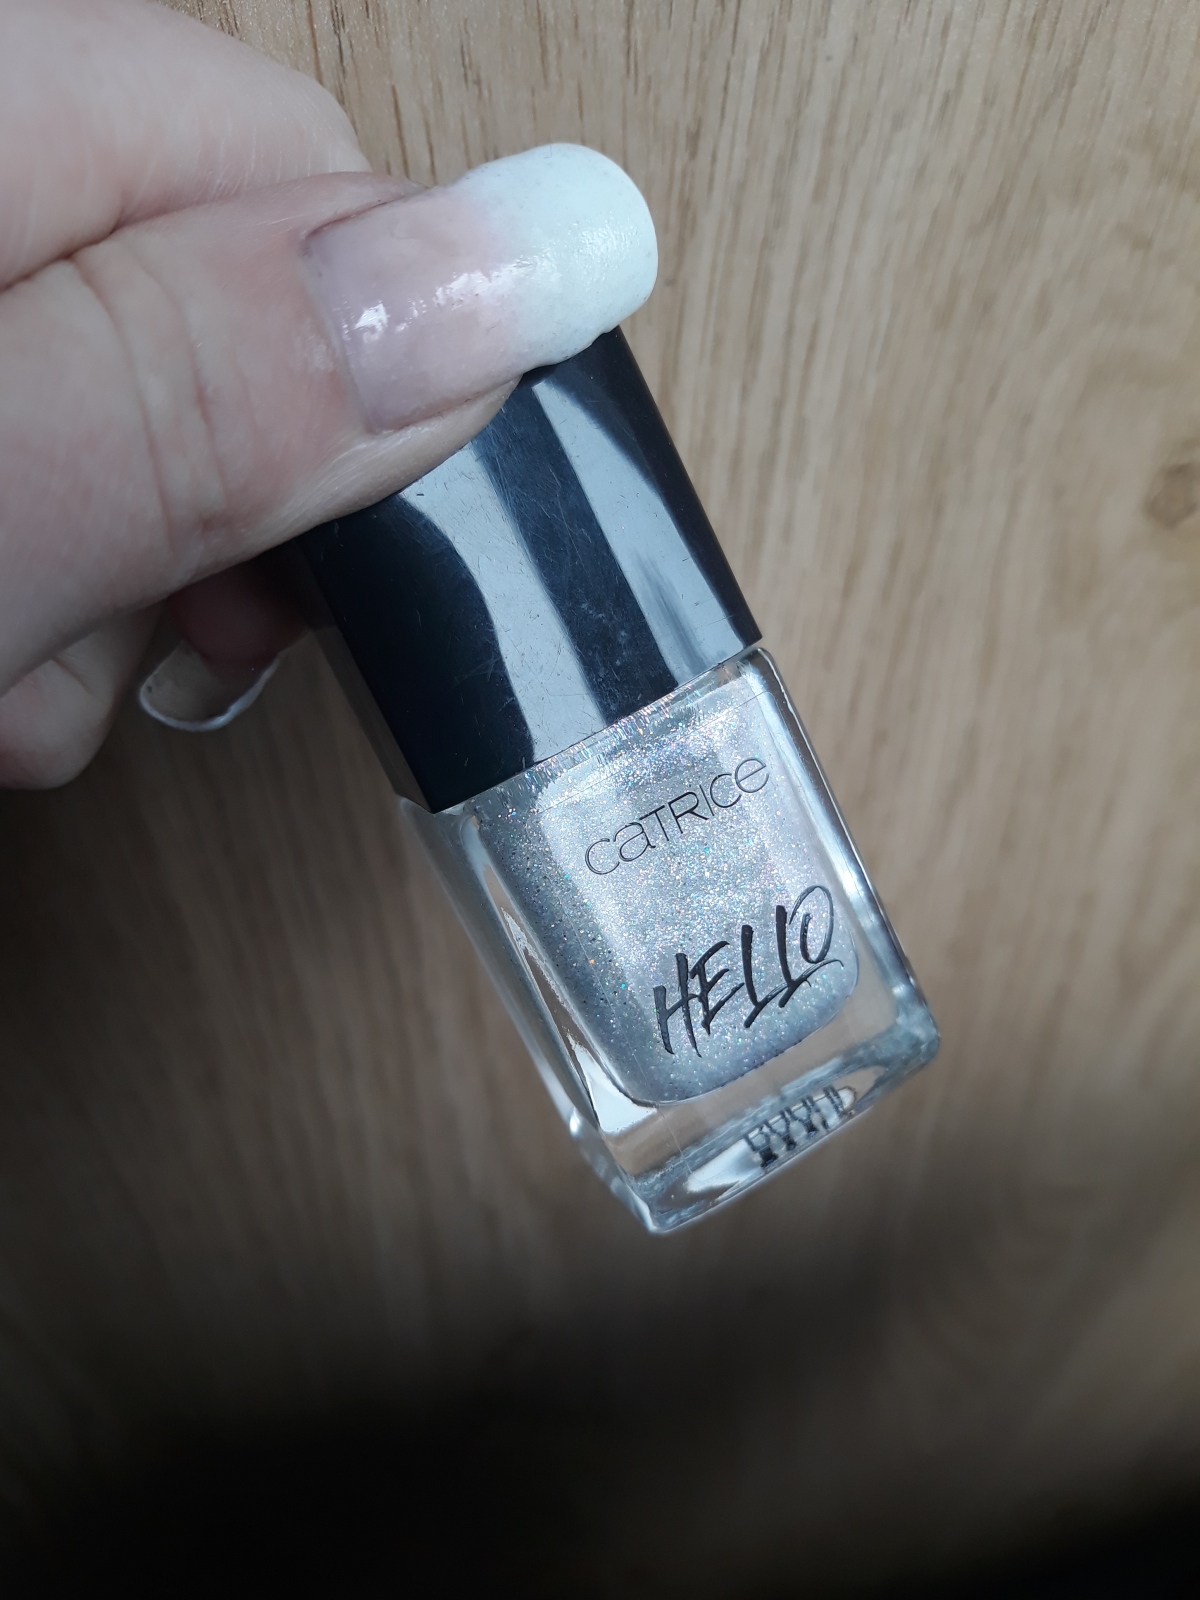
I never tried this polish. But I have a very similar one from Catrice already.20190125_130128

Essence – Peel Off Gel €1,00This products didn’t work for me (maybe I have been using it wrong idk?), but if you ever tried it and you like it, so it might be something for you.

20190125_131120
The packaging
20190125_131428
Moyou London Sailor Collection – 03 €3,00

I love Moyou London stamping plates, these images are just too small for my nails.

20190125_131828

20190125_131946
Moyou London Pro Collection – 08 €3,00

Another great plate, just too small for my nails.

I will add more products soon ( nail polish and plates)

If you have any questions or if you want to see more picture of each products, contact me by Instagram or email. (thenailpolishbottle@gmail.com)

https://www.instagram.com/thenailpolishbottle/?hl=nl

Thank you for reading!

Review Catrice Cosmetics Peel off glam

Today I will share my thought and opinions about these Catrice glittery polishes. Well, I only bought 2/6 available colors, because I don’t want to spend my money on something that isn’t worth it 😉 It is an old post but I forgot to upload so why not do it right now!

So the thing that makes these polishes unique is that it is a polish that you can peel off in one piece instead of using nail polish remover. That is at least what they promise to do. I will show you how to latest color looks like’’ ……. ‘’ a beautiful blue glitter polish with holographic shimmers. I always love it when mainstream brands come up with ACTUAL holographic polishes and not ‘’fake holo’’ which means it is just an iridescent polish, also pretty, but nothing like a rainbow effect holographic polishes give! It also has a strong shimmer glare once you wear it in the shade what I love! The other color I bought, still needs to be swatched.

So the application is a little bit complicated. You should either apply 3 or 4 coats, which makes it hard to dry, or like me sponge on the first layer by using a make up sponge and the second coat using just the brush of the polish, to bring back the base of the color. After all, it felt very ‘’chuncky’’ on the nails, because of the pretty big glitters but that was expected.

I used 2 coats of quick dry topcoat to make it shiny. This also makes it way easier to peel off the polish. The polish did dry very fast though.

So, the polish did peel off in one piece, but with some trial and error. I used a lot of nail oil beforehand and it was still really hard to peel off. As you can see, the glitters where kinda stuck at my nails after peeling most of it off. I also feel like it damaged my nails, because it felt a little bumpy after I applied a new layer of base coat to my nails.

After all, these polishes are fun to wear once in a while, but if you love your natural nails, don’t use them too often, just once in a while. And they are worth the price. I honestly would wear them again 😊

Follow me on my other Social Media too;

Instagram: https://www.instagram.com/thenailpolishbottle/?hl=nl

Facebook: Michelle Thenailpolishbottle

Youtube: The Nailpolishbottle


Actual mirror nails

I discovered the impossible, mirror nails! I can use my nails as a mirror that is crazy right?! I just could not resist staring at my nails and this is basically a #facebehindthenails lol.

1535550504152

So, about 2 years ago, companies released mirror effect polishes and instantly chrome nails became a look. Later, chrome powders were created. As you can tell, I am very late with this trend but better late then never right? For this effect I also didn’t use mirror effect polish, I used mirror effect powder. You have to use this powder with gel polish, which means you should cure every layer under a UV/LED lamp, not ‘’regular’’ polish.

I like to use gel polish with a peel off basecoat underneath, because gel polish is designed for long wearing and I like to change my many very often. But feel free to try it without peel off basecoat like most people do!

Product I used to create this look:

Masura© no wipe gel topcoat

BeautyBigBang© Mirror chrome powder item J2949 (You can save 10% off your order with my code ‘BOTTLE’

SunUV© 48 Watt UV LED lamp

I tried something that others bloggers never tried before (for as far I have seen) and use this specific mirror chrome powder over a clear base, instead of a colored base like a black gel polish. Like I mentioned before, these kind of powder only work with LED or UV gel polishes, so not ‘’gel look’’ polishes like some brands claim to have.

This is how I did it;

I applied a layer of no wipe gel topcoat and cured it 30 seconds under my UV LED Lamp. I use the sponge applicator, that comes with the powder, to buff the powder into the topcoat. Then I seal it with another topcoat and cure again. I buff in another bit of powder into the topcoat and I finish with one more layer of topcoat. It sounds like it takes forever to dry, but all gel polishes dry instantly under the UV or LED light.

Click here for the tutorial: https://www.instagram.com/p/BnOBvi1hSYF/?hl=nl&taken-by=thenailpolishbottle

Click here to see my nails in motion: https://www.instagram.com/p/BnRZAv5hIr6/?hl=nl&taken-by=thenailpolishbottle

Thank you for reading and don’t forget to check out my other social media!

Instagram: https://www.instagram.com/thenailpolishbottle/?hl=nl

Facebook: https://www.facebook.com/Thenailpolishbottle-370143610108130/

Youtube: https://www.youtube.com/watch?v=innlJeIOBSE

* I got the mirror powder and the UV/LED lamp sent to me for review, but it is not a sponsored post. All opinions are my own and honest like always.


Bow Polish thermal nail polish


Hey guys! Long time no see… But I finally have a post for you to read about a cool kind of nail polish; thermal nail polish! In case you don’t know what it is, it is a polish where the color changes depending on temperature. The more cold it is in your environment, the darker the color gets. This post is about Bow Polish Coma White.

I would describe this polish as a sheer grey color in warm state and a almost black color in cold state. What I really like about this polish are the multichrome flakies and the holographic glitters in this polish, even though you can’t really tell it by the pictures, there are defineltely there!

I decided to add a stamping image over the polish to really show off the effect and it is so cool! Shown is 2 coats of Coma White, stamped with black stamping polish ”Vibin” from TwinkledT and one coat of the no smudge topcoat from MoyouLondon.

Many people think you need water to make the polish change from color, but temperature makes the difference. For example, in my bathroom it is pretty cold so the polish is almost black, but when I am outside in the sunshine then it turns almost clear!

Bow Polish Coma White is available at http://www.hypnoticpolish.com (Europe) and they ship international! ( Not sponsored )

Follow me on my other Social media as well:

Youtube: https://youtu.be/isDYOOOsm6s

Instagram: https://www.instagram.com/thenailpolishbottle/?hl=nl

Facebook: https://www.facebook.com/Thenailpolishbottle-370143610108130/


DIY nail oil pen

I have been using cuticle oil for years already, but I felt like I never found the perfect cuticle oil, which in my opinion has to soak in fast and feel hydrated.  In this post I will show you how I made my own nail oil pen with oil of my choice.

1524169920133

I have been using 100% Jojoba oil for 4 weeks now and I totally notice a difference in my skin. Using nail oil pens is a fun and easy way to carry around nail oil wherever your are!

The only ingrediënt for my cuticle oil is Jojoba oil. This oil is the most similar to the natural skin oils and works great for dry skin or other skin conditions like acne. But before using it, I recommend doing a patch test on your hand to make sure you are not allergic to it (very rare case but still important to know) The Jojoba oil I bought is 100% oil and no other ingrediënts at all. It is 200 ml but sells for about €20/$25 which is pretty expensive. That is why I wanted to save as much product as possible and store it in empty pens, since they last longer then just a empty polish bottle with oil.

I bought a bunch of these empty pens from Ebay. Here is a link to the ones I bought in case you are curious: https://www.ebay.com/itm/5x-3ML-Empty-Twist-Pen-with-Brush-Nail-Polish-Eyelash-Growth-Oil-Container-Vogue/391884009004?hash=item5b3e1b6e2c:m:mD9TZPe-cf2-_83uxHPElsw

The brush applicator is a great way to use nail oil regulary no matter where you are. You just simply twist the back of the pen a couple times (you will hear a clicking sound) and you can see the oil dripping out of the brush.

To transfer the oil from the bottle in a pen, I used a dropper. I was able to measure the amount of oil (which is 3 ml for each pen).

You can easily measure how many oil is left just by looking at the pen. The first pen is just filled and the other one is used for 4 weeks (based on using 6 or 7 times a day which is a lot and you don’t have to apply it that often 2 times a day is good enough)

I didn’t discover yet how to refill the pen yet, but there are probably some helpfull videos on Youtube. After all, nail oil pens are way easier then bottles and I can’t live without them anymore! I did buy a lot of pen, about 30, so I might sell some in the future 😉

My Instagram:

https://www.instagram.com/thenailpolishbottle/

My Youtube:

https://www.youtube.com/channel/UCmxnnHSI82IERKsT7v3UeCQ

My Facebook:

https://www.facebook.com/Thenailpolishbottle-370143610108130/